What to Expect During the Ceramic Coating Application Process in Ceramic Coating San Jose
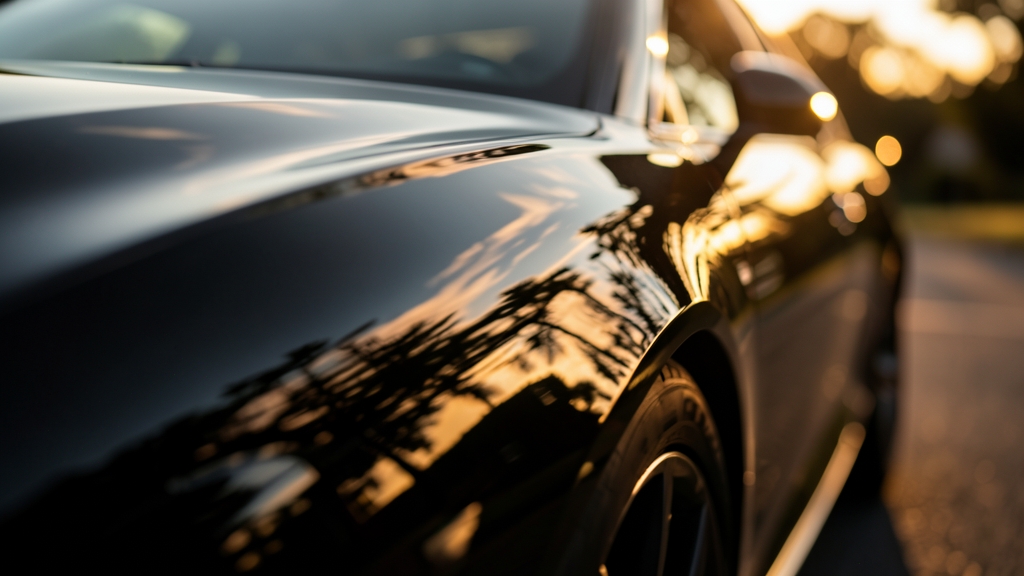
Curious about what goes into a professional ceramic coating? The process is meticulous, transforming your vehicle’s paint with long-lasting protection. We break down each stage so you know exactly what to expect from start to finish.
Why San Jose Drivers Choose Ceramic Coating
Our region’s intense sun, coastal salt air, and urban pollution accelerate paint damage. Ceramic coating acts as a sacrificial layer, shielding your clear coat from UV rays, bird droppings, and tree sap.
Unlike wax or sealants, it bonds chemically with the paint, offering years of hydrophobic protection. Ideal for daily drivers in Santa Clara, Sunnyvale, and beyond.
Step 1: The Deep Clean and Decontamination
We start with a thorough wash to remove loose dirt and grime. This isn’t your average car wash—it’s a multi-stage process to prep the surface.
A clay bar treatment lifts embedded contaminants like tar and industrial fallout. Skipping this step risks trapping debris under the coating.
Residual contaminants can cause premature coating failure or uneven bonding. Always insist on a full decon before application.
Step 2: Paint Correction for a Flawless Finish
Swirl marks, scratches, and oxidation? Paint correction is non-negotiable. We use compounds and polishes to restore clarity and depth to your paint.
This step ensures the ceramic coating adheres to a smooth, defect-free surface. Without it, imperfections get locked in permanently.
How Ceramic Coating Compares to Other Protection Methods
Not all protection is created equal. Ceramic coating outlasts wax and sealants but differs from PPF in impact resistance.
While PPF guards against rock chips, ceramic coating excels at chemical resistance and ease of maintenance.
| Feature | Ceramic Coating | Wax/Sealant | Paint Protection Film (PPF) |
|---|---|---|---|
| Durability | 2-5+ years | 3-6 months | 5-10 years |
| Scratch Resistance | Moderate (chemical) | Low | High (physical) |
| Hydrophobic Properties | Extreme | Moderate | Moderate |
| Self-Cleaning Effect | Yes | No | Limited |
| UV Protection | Yes | Minimal | Yes |
| Maintenance | Low | High | Moderate |
Step 3: IPA Wipe-Down and Final Prep
After correction, we perform an isopropyl alcohol (IPA) wipe to remove any remaining oils or residues. This ensures a pristine surface for bonding.
Even a single fingerprint can compromise adhesion. Precision here separates amateur jobs from professional results.
Dust and wind can ruin a fresh coating. We apply coatings in a filtered, temperature-controlled space to avoid contaminants.
Step 4: Applying the Ceramic Coating
Using high-quality nano-ceramic polymers, we apply the coating in thin, even layers. Each layer is allowed to flash before the next is added.
The number of layers depends on your goals—single-layer for basic protection, or multi-layer for enhanced durability and gloss.
Curing: The Critical Waiting Period
Curing is where the magic happens. The coating chemically bonds to the paint over 24-48 hours, though full hardness may take up to 30 days.
During this time, avoid washing the car or exposing it to rain. Premature contact with water can cause water spots or streaking.
Post-Application Care and Maintenance
Ceramic coating isn’t maintenance-free, but it’s low-maintenance. Regular washes with pH-neutral soap preserve its hydrophobic properties.
Avoid harsh chemicals or abrasive tools. For wheels or brake calipers, a dedicated ceramic coating can simplify cleaning brake dust.
Ceramic Coating Maintenance Do’s and Don’ts
- Do use a microfiber wash mitt and grit guards
- Do dry the vehicle with a clean microfiber towel
- Don’t use dish soap or household cleaners
- Don’t wax over the coating (it’s unnecessary)
- Do reapply a ceramic spray sealant every 6-12 months for extra shine
How to Prepare Your Car for Ceramic Coating
A little prep goes a long way toward a flawless finish.
- 1Remove Personal Items
Clear out your car’s interior and trunk. This allows full access for exterior prep and interior ceramic protection if requested.
- 2Address Existing Damage
Fix chips, scratches, or dents before the coating process. Paint correction can’t hide deep flaws.
- 3Avoid DIY Products
Skip the drive-thru car wash or off-the-shelf polishes. These can leave residues that interfere with bonding.
- 4Schedule Smartly
Plan your appointment during dry weather. Rain or humidity during application can compromise results.
- 5Discuss Add-Ons
Consider pairing ceramic coating with PPF for ultimate protection, or add ceramic window tint for UV and heat rejection.
Frequently Asked Questions
How long does ceramic coating last in San Jose’s climate?
With proper care, a professional-grade ceramic coating lasts 2-5 years or more. The Bay Area’s sun and salt air can shorten this slightly, but regular maintenance extends its life.
Can ceramic coating be applied over existing wax or sealant?
No. Wax and sealants must be fully removed during the decontamination and prep stages. Otherwise, the coating won’t bond properly to the paint.
Is paint correction included in the ceramic coating process?
Paint correction is a separate service but highly recommended before coating. It ensures a smooth, defect-free surface for optimal results. We often bundle both for clients in Cupertino, Campbell, and Milpitas.
Can I apply ceramic coating myself?
DIY kits exist, but professional application delivers superior durability and finish. Improper prep or application can lead to streaks, peeling, or reduced longevity.
Does ceramic coating protect against rock chips?
Ceramic coating adds a hard layer that resists minor scratches and chemical etching, but it won’t stop rock chips. For that, combine it with paint protection film (PPF).
How soon can I drive my car after ceramic coating in San Jose?
You can drive immediately, but avoid washing the car or exposing it to rain for at least 48 hours. Full curing takes longer, so handle with care for the first week.